Content
- 1 Understanding the Role of a Tapered Drive Roller
- 2 Step 1: Preparation and Inspection
- 3 Step 2: Mounting and Alignment
- 4 Step 3: Ensuring Proper Drive Connection
- 5 Step 4: Conveyor Belt Integration
- 6 Step 5: Testing and Final Verification
- 7 Step 6: Common Installation Mistakes to Avoid
- 8 Step 7: Post-Installation Maintenance Practices
- 9 Step 8: Importance of Precision and Expertise
- 10 Conclusion
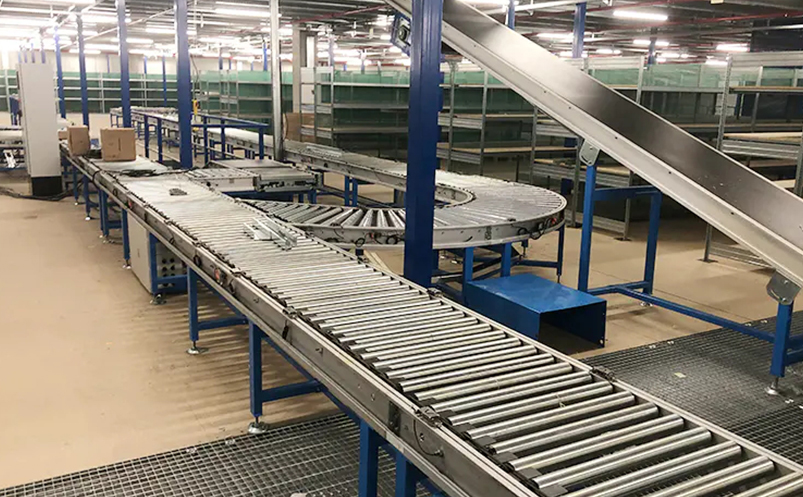
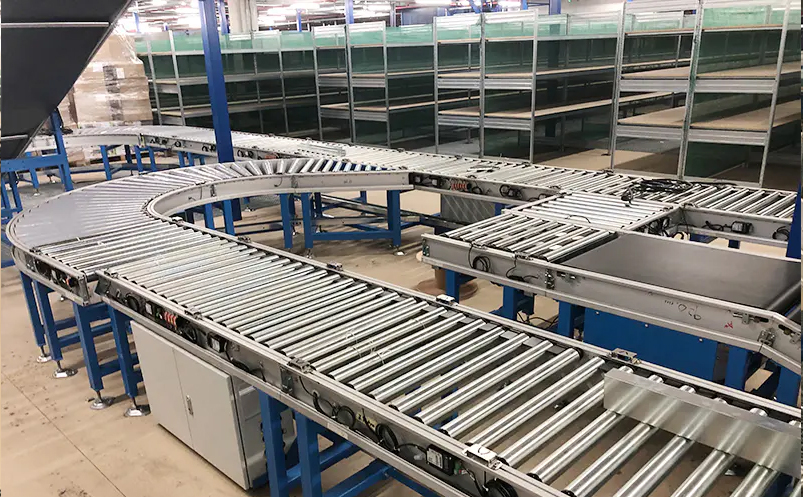
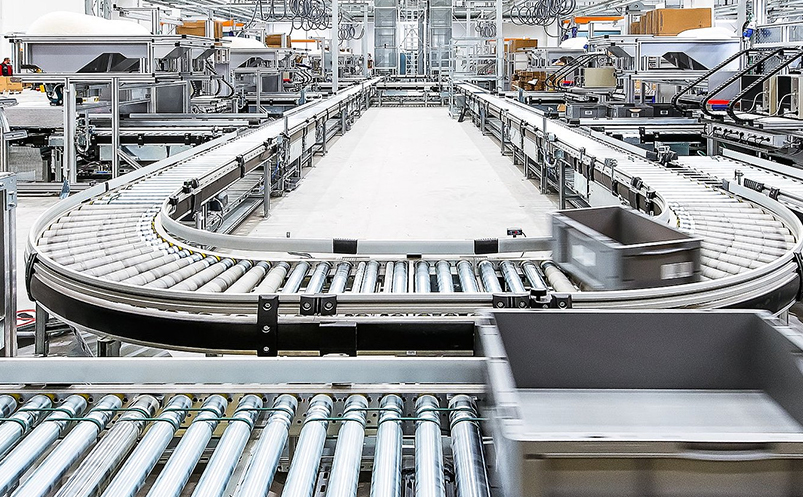
A tapered drive roller plays a pivotal role in the efficiency and precision of conveyor systems, especially those designed with curves or inclines. While its function may appear straightforward, improper installation can lead to misalignment, premature wear, and system inefficiency. Understanding how to correctly install a tapered drive roller is essential for ensuring smooth operation, minimizing downtime, and extending the service life of the conveyor system.
Understanding the Role of a Tapered Drive Roller
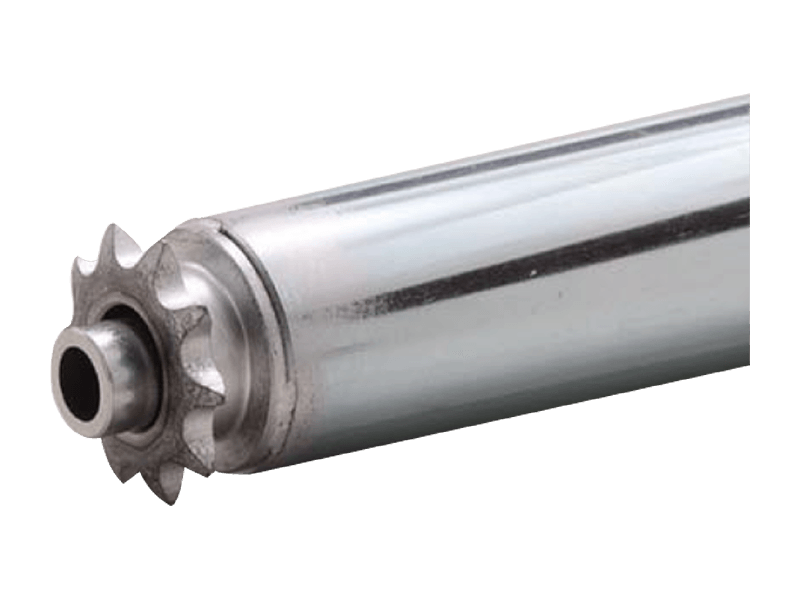
Before addressing installation, it is important to understand the purpose and mechanics of a tapered drive roller. Unlike straight rollers, a tapered roller has a varying diameter—larger on one end and smaller on the other. This design enables the roller to maintain consistent linear velocity across a curved conveyor belt, ensuring smooth and centered belt tracking.
When installed correctly, a tapered drive roller helps:
- Maintain uniform belt speed through curves.
- Prevent belt drift or edge damage.
- Reduce product slippage and energy loss.
- Enhance system longevity by minimizing mechanical stress.
In short, proper installation ensures that the roller’s taper aligns with the conveyor’s curvature and belt movement, preserving the intended motion dynamics of the system.
Step 1: Preparation and Inspection
1.1 Verify Roller Specifications
Before installation, confirm that the tapered drive roller matches the conveyor’s design requirements. Key parameters include:
- Roller length and taper angle: These must correspond with the conveyor’s radius and width.
- Shaft diameter and length: Ensure compatibility with bearing housings and mounting brackets.
- Material and coating: Select corrosion-resistant or food-grade materials as needed for the environment.
- Drive mechanism: Identify whether the roller is driven by chain, belt, or direct motor connection.
1.2 Inspect Components
Examine the roller and all associated parts for shipping damage, wear, or manufacturing defects. Check for:
- Cracks or surface irregularities on the roller body.
- Smooth operation of bearings.
- Straightness of the shaft and correct taper machining.
Any defective component should be replaced before proceeding. Installing a damaged roller can compromise alignment and performance from the outset.
1.3 Prepare Tools and Safety Equipment
Gather essential tools such as:
- Wrenches, Allen keys, and torque wrenches for fastening.
- Alignment gauges or laser alignment tools.
- Leveling instruments and straightedges.
- Lubricants suitable for the roller’s bearings or drive elements.
Always wear appropriate safety gear—gloves, safety glasses, and steel-toed boots—and ensure the conveyor system is fully de-energized before starting work.
Step 2: Mounting and Alignment
2.1 Positioning the Roller
Place the tapered drive roller in its designated position on the conveyor frame. The larger diameter end should face the outer radius of the curved conveyor. This configuration ensures the belt travels at a consistent velocity along the curve.
Double-check the roller orientation before tightening any mounts. Incorrect orientation can lead to belt misalignment or uneven wear.
2.2 Aligning the Shaft and Bearings
Proper shaft alignment is crucial for preventing vibration and mechanical stress. Follow these alignment guidelines:
- Ensure the roller shaft sits parallel to the conveyor frame or within the manufacturer’s tolerance.
- Use alignment lasers or precision gauges to confirm straightness.
- Check that both bearing housings are level and evenly spaced from the frame’s centerline.
Bearings should be seated without tilt or misalignment. Even slight deviations can cause uneven rotation or premature bearing failure.
2.3 Securing the Roller Assembly
Once aligned, fasten the roller in place:
- Tighten bolts or clamps to the specified torque settings.
- Verify that locking mechanisms, such as set screws or retaining rings, are properly engaged.
- Recheck alignment after tightening, as bolts can shift the roller’s position during the process.
For driven tapered rollers, connect the drive element (belt, chain, or coupling) but do not fully tension it until alignment and levelness are verified.
Step 3: Ensuring Proper Drive Connection
3.1 Drive Belt or Chain Alignment
If the tapered drive roller is powered by a belt or chain:
- Confirm that the drive pulley or sprocket is in the same plane as the motor or gearbox output.
- Avoid angular misalignment, which causes uneven tension and premature wear.
- Check for correct belt or chain tension—neither too loose nor overly tight.
Proper tension ensures efficient power transfer without overstressing the roller bearings or drive motor.
3.2 Coupling or Motor Integration
For direct-drive systems:
- Align the motor shaft precisely with the roller shaft.
- Use flexible couplings if small misalignments are unavoidable.
- Apply manufacturer-recommended torque to all connection fasteners.
Inaccurate coupling can result in vibration, noise, and reduced motor efficiency.
Step 4: Conveyor Belt Integration
4.1 Positioning the Conveyor Belt
After the tapered drive roller is securely mounted, position the conveyor belt over the rollers. Ensure the belt’s centerline matches the conveyor’s design path.
4.2 Checking Belt Tension and Tracking
A correctly tensioned belt should:
- Sit evenly across the roller’s width.
- Exhibit minimal side movement during operation.
- Avoid excessive tightness, which can overload the bearings.
Start with moderate tension and gradually adjust as needed. Observe the belt’s movement along the taper. The belt should self-center and track smoothly without drifting.
4.3 Adjusting for Fine Alignment
If the belt drifts toward one side:
- Adjust the roller angle slightly (usually less than one degree).
- Inspect for frame squareness or uneven bearing mounting.
- Check that the taper direction is correct relative to belt travel.
Minor adjustments can correct tracking issues without disassembling the roller.
Step 5: Testing and Final Verification
5.1 Initial Run
Power on the conveyor at low speed for initial testing. Observe:
- Belt tracking behavior through the full curve.
- Any unusual noises, vibrations, or friction points.
- Smooth roller rotation without wobble or lateral movement.
Allow the system to run for several minutes to identify potential misalignments.
5.2 Performance Adjustments
If issues are detected:
- Stop the system immediately and inspect alignment.
- Re-tension the drive mechanism if slipping occurs.
- Verify that all fasteners remain secure and that the roller bearings are properly lubricated.
Make adjustments incrementally and test after each change to avoid overcorrection.
5.3 Final Tightening and Documentation
Once the roller operates smoothly:
- Tighten all fasteners to final torque specifications.
- Record installation data—alignment readings, torque values, and tension settings—for future maintenance reference.
- Schedule a re-inspection after 24 to 48 hours of operation to confirm stability.
Step 6: Common Installation Mistakes to Avoid
Even experienced technicians can make errors during installation. Below are common mistakes and how to prevent them:
- Incorrect taper orientation – Always ensure the larger roller end faces the outer curve radius.
- Misaligned shafts – Use precision tools rather than visual estimation.
- Overtightened belts or chains – Leads to bearing overload and premature failure.
- Neglecting to recheck after tightening – Bolts can shift alignment when fully torqued.
- Skipping lubrication – Dry bearings or couplings generate heat and shorten lifespan.
- Improper belt tracking adjustments – Over-adjustment may cause chronic belt drift.
- Ignoring thermal expansion – Leave minimal clearance for rollers in high-temperature environments.
Avoiding these errors ensures long-term reliability and reduces maintenance frequency.
Step 7: Post-Installation Maintenance Practices
A well-installed tapered drive roller still requires periodic maintenance to sustain its performance. Recommended practices include:
- Routine inspection: Check roller alignment, bearings, and drive connections monthly.
- Lubrication schedule: Apply grease or oil as specified by the manufacturer.
- Belt condition monitoring: Inspect for fraying, misalignment, or tension loss.
- Cleaning: Keep rollers and belts free from dust, oil, or debris that could affect friction.
- Bearing replacement: Replace worn bearings immediately to avoid shaft damage.
Consistent upkeep preserves the roller’s functionality and prevents costly production downtime.
Step 8: Importance of Precision and Expertise
Installing a tapered drive roller may seem mechanical, but precision is key. The taper geometry is designed to distribute rotational speed evenly across the conveyor’s curve. Any deviation in installation compromises that geometry, affecting the entire system’s efficiency.
In industrial environments, even a 1° misalignment can lead to increased belt wear, energy inefficiency, and frequent maintenance. Therefore, employing skilled technicians, calibrated tools, and adherence to manufacturer guidelines is not just recommended—it’s essential.
Conclusion
Proper installation of a tapered drive roller determines whether a conveyor system operates efficiently or faces recurring mechanical problems. From verifying specifications and ensuring precise alignment to testing belt tracking and maintaining correct tension, each step requires attention to detail.
A correctly installed tapered drive roller ensures:
- Smooth, centered belt motion through curves.
- Minimal mechanical stress on components.
- Reduced maintenance and longer service life.
By following a disciplined installation process and maintaining regular inspections, operators can maximize performance, minimize downtime, and extend the operational reliability of their conveyor systems. The time and care invested in correct installation pay dividends through years of efficient, trouble-free operation.